Gaining access to root canals
Endoseries 12,
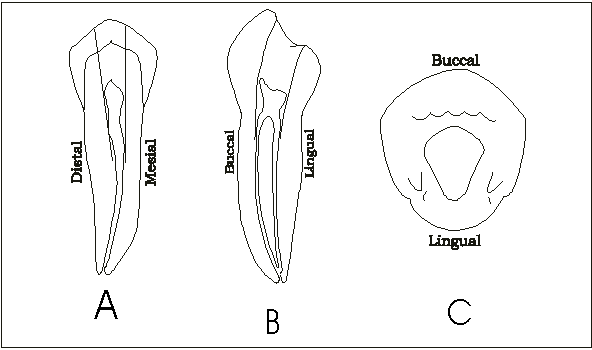
Access Cavity Preparation
2. Have you taken a good look at the tooth in the oral cavity? Its shape, size, tilt and morphology need careful consideration.
3. Have you spent sufficient time studying the radiograph? Though radiograph is a two dimensional picture of a three dimensional area, it is the only guidance for us to have a knowledge of the internal anatomy of the tooth. You have to combine your knowledge, morphology of the tooth as seen in the oral cavity and the radiographic picture in your mind and create a three dimensional mental picture of the internal anatomy of the tooth. This is a very important step because it will help to avoid many mishaps like inability to locate root canals and perforations. Some cases of attempted root canal treatment that I have seen, esp., of maxillary incisors where the previous operators couldn�t locate the canals in old patients where narrowing of root canals has occurred, were clear-cut proof that they had not given attention to what is described in the previous paragraph. Next step, equally important, is to properly orient the bur before starting to cut the tooth. See the relationship of the tooth crown and the bur. If you are going to use indirect vision as in the maxillary teeth, take a few seconds to see the tooth and the bur by direct vision also. After confirming that the bur is positioned in the correct direction, you can start cutting by indirect vision. It is necessary to remove all caries before gaining entry into the pulp chamber.
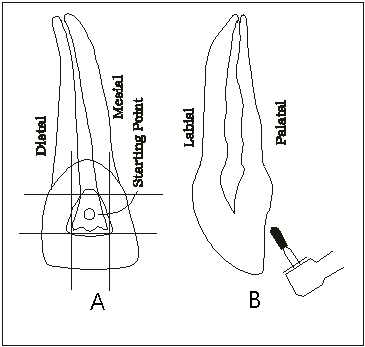
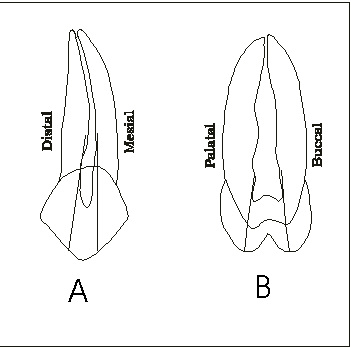
Access cavities for maxillary incisors
Gain access cavities only through lingual surfaces. Since the pulp chamber is triangular in shape, the access cavity is prepared in a triangular form with rounded corners.
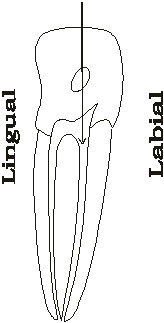
If the palatal surface of the incisor is divided into three vertically and horizontally, the initial point of entry is in the central area, just incisal to the cingulam. Hold a fissure bur perpendicular to the palatal surface and make a small depression. Gradually change the direction of the bur, holding it parallel to the long axis if the tooth. When the bur �drops� into the pulp chamber, switch to a No. 4 or 6 round bur for de-roofing. One common mistake is leaving part of the roof in the labial aspect. This will lead to harboring of pulp remnants and bacteria in the niche, preventing thorough cleaning.
 When you have prepared the access cavity correctly and look at the access cavity through a mouth mirror, you will be able to see almost half of the root canal length.
Maxillary Canines
The access cavity should have an ovoid outline.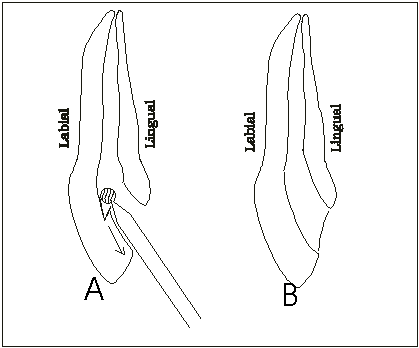
Maxillary Premolars
Though you may come across first premolars with single root canal, usually they have two canals and rarely three canals.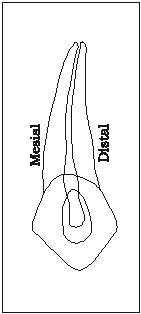
The radiograph of a premolar with three canals looks fuzzy. You can see adjacent teeth OK, but this one looks different. As you open into the pulp chamber, the palatal canal is easy, but the buccal is very tight, and in what looks like a slot running bucco-lingually. You will get the mesiobuccal canal labially, distobuccal in the middle and palatal is where you first found it.
In contrast, second premolars are mostly single rooted, though some of them may have two root canals. When there is a single root canal, it is ribbon shaped i.e., wider bucco-lingually and narrower mesiodistally.

 Start the access cavity preparation in the middle of the central groove and extend buccally and palatally, giving it an elongated oval shape.
Mandibular incisors
The access cavity may have a triangular shape with rounded corners or ovoid, depending on the shape and size of the teeth and age of the patient.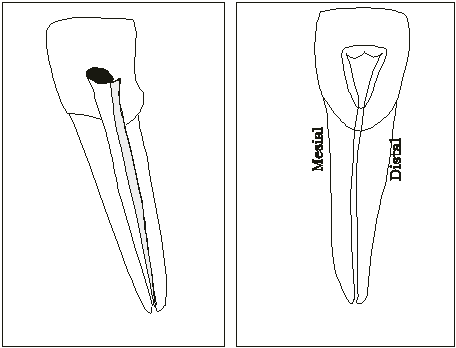
Occurrence of two canals is quite common in mandibular incisors. They are difficult to access properly. The second canal usually appears to hide under the cingulam. When you look into the access opening, you should be able to see two canals. If you missed one, it�s usually the lingual. That�s because your access opening is too small from the lingual and doesn�t afford a straight line opening to the lingual canal. So, extend the access cavity into the cingulam and search for the second canal under the cingulam.
If you look into the access opening and see one small oval orifice, slightly wider from buccal to lingual, you probably have one canal. Same is the case when you see a well defined, large open canal in the radiograph. Your radiographic clues for two canals are: 1. The pulp chamber is visible with canals disappearing apical to the chamber. They seem to disappear at the bifurcation. They are smaller and are superimposed on dense tooth structure.2. The bilateral tooth shows evidence of two canals. Due to the angle of the radiograph, you may have a better view of this tooth.
3. Very close examination of the radiograph reveals two periodontal ligament spaces on the mesial or distal of the root. This certainly represents either a deep concavity or a second canal. Treat it as though it has two canals.
Mandibular Canines
Make the access cavity ovoid in shape, but widen it labiolingually if there are two canals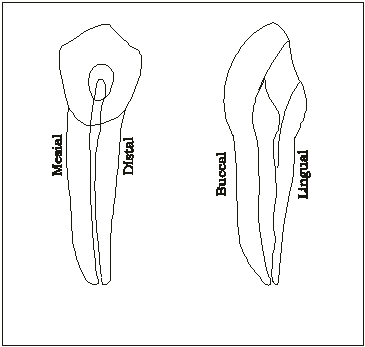
Mandibular Premolars
They are usually single canalled, but may also have two or three canals. The access cavity for first and second premolars should be ovoid in shape. The incidence of two canals is less in second premolars.
When there are two canals, extend the access cavirty sufficiently in the buccolingual direction and when there are three canals, widen it in the mesio distal direction. In this case there will be 2 buccal canals and one lingual canal.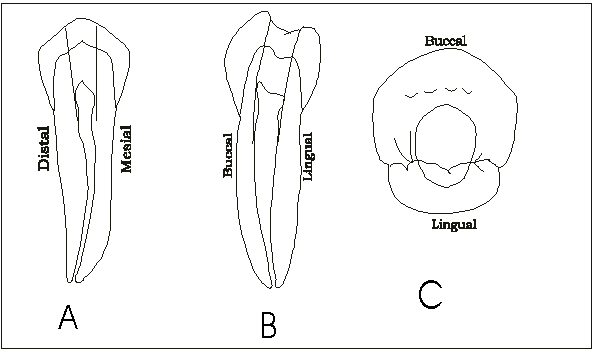
 TO Learn MORE ABOUT Access on MOLARS CLICK HERE